
Cherry Cobbler is a beloved dessert that never goes out of style. It’s comforting, simple to make, and satisfies every sweet tooth craving. Whether preparing it for a family dinner, a festive holiday, or a spontaneous indulgence, this recipe will become your go-to guide for crafting a cobbler that delights every time.
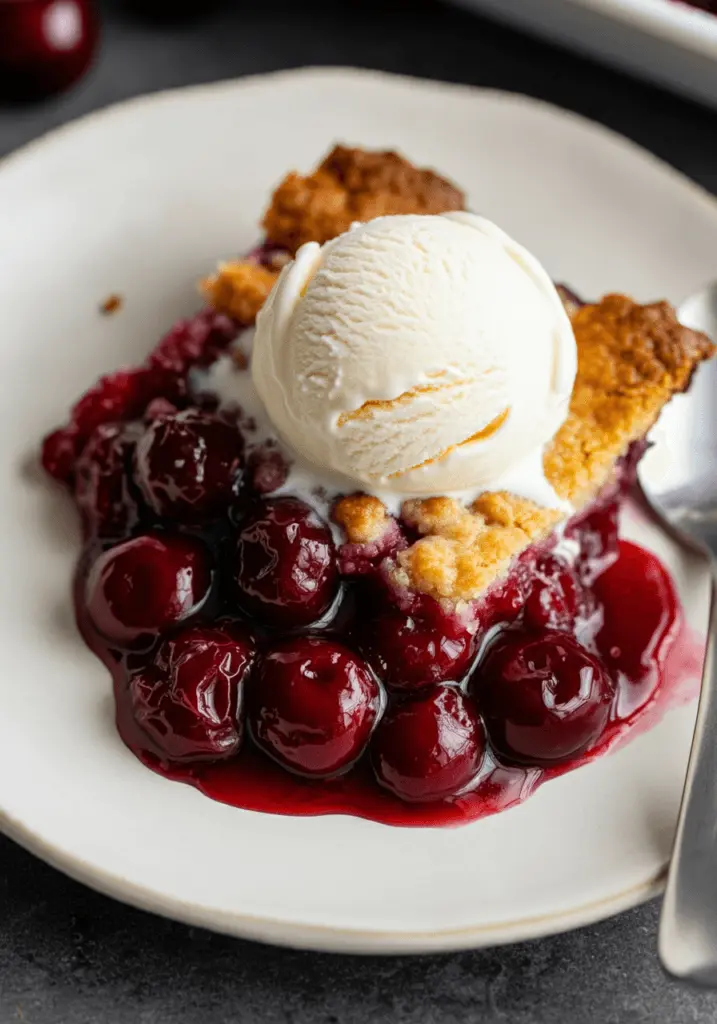
Table of Contents
This article’ll dive into the step-by-step process of making a mouthwatering Cherry Cobbler, sharing tips, techniques, and secrets. Bye! You’ll be ready to whip up this delicious dessert like a pro!
Why Cherry Cobbler Is a Must-Try Dessert
Imagine a golden, buttery crust nestled on top of warm, syrupy cherries bursting with flavor. Cherry Cobbler combines the tangy sweetness of cherries with the soft texture of baked batter, creating a dessert that’s both nostalgic and timeless.
What Makes Cherry Cobbler Special?
- Simplicity: Only a handful of ingredients are needed.
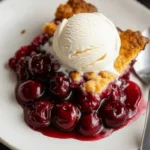
- Versatility: Enjoy it warm, cold, or with a scoop of ice cream.
- Year-Round Favorite: Fresh, canned, or frozen cherries work beautifully.
If you’ve never made Cherry Cobbler before, don’t worry. With this guide, you’ll feel confident at every step.
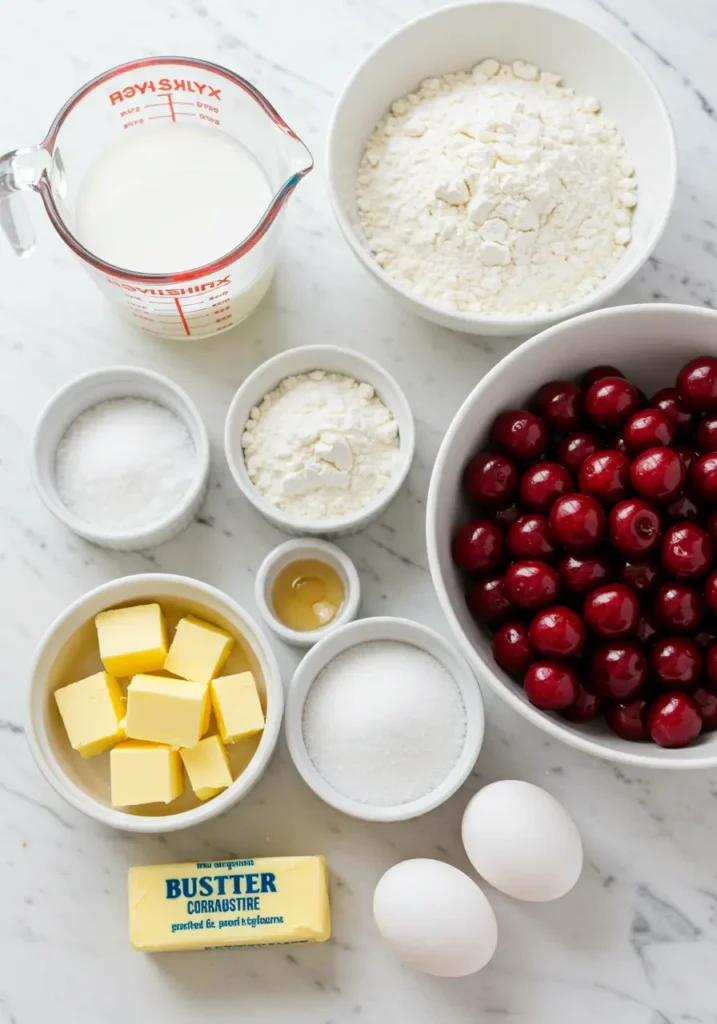
Ingredients You’ll Need
Let’s start by gathering everything required for your cobbler. Having all your ingredients ready ensures a smooth cooking process.
| Ingredient | Quantity |
| Fresh or canned cherries | 4 cups |
| Granulated sugar | 1 cup |
| All-purpose flour | 1 cup |
| Baking powder | 1 tsp |
| Milk | 1 cup |
| Butter (melted) | ½ cup |
| Vanilla extract | 1 tsp |
| Cinnamon (optional) | ½ tsp |
Pro Tip: Using tart cherries? Add an extra tablespoon of sugar for balance.
How to Make Cherry Cobbler: A Step-by-Step Guide
1-Prepping Your Cherries
First, prepare your cherries. Whether you’re using fresh, frozen, or canned, this step sets the base for your cobbler.
- Fresh cherries: Wash, pit, and halve them.
- Canned cherries: Drain and rinse to remove excess syrup.
- Frozen cherries: Thaw and pat them dry.
In a saucepan, combine the cherries with ½ cup of sugar and cinnamon (if desired). cook over medium heat until the mixture becomes syrupy. This takes about 5 minutes.

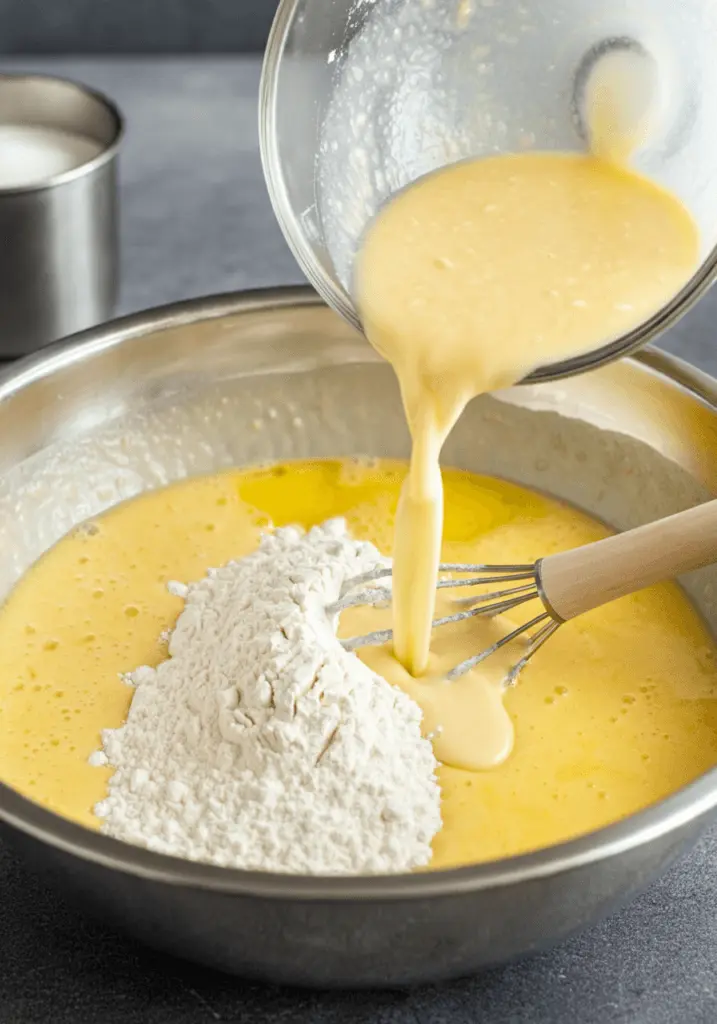
2-Mixing the Batter
Creating the batter is incredibly simple and foolproof. Follow these steps for a smooth consistency:
- Mix the flour, baking powder, and remaining sugar in a large bowl.
- Gradually pour in the milk while stirring to avoid lumps.
- Add the melted butter and vanilla extract. Stir until the batter is smooth.
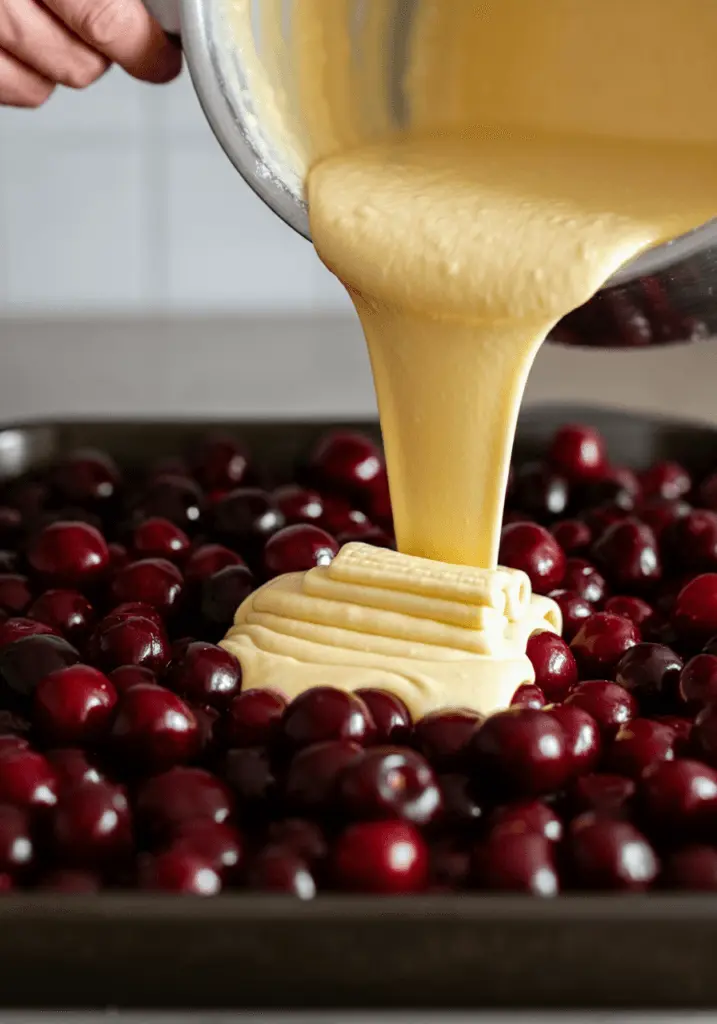
3-Assembling the Cobbler
Now comes the fun part—putting it all together!
- Preheat your oven to 375°F (190°C).
- Grease a 9×13-inch baking dish.
- Pour the cherry mixture into the dish, spreading it evenly.
- Carefully pour the batter over the cherries. Use a spatula to ensure even coverage.
Pro Tip: Don’t worry if some cherries peek through the batter. It adds charm and texture!
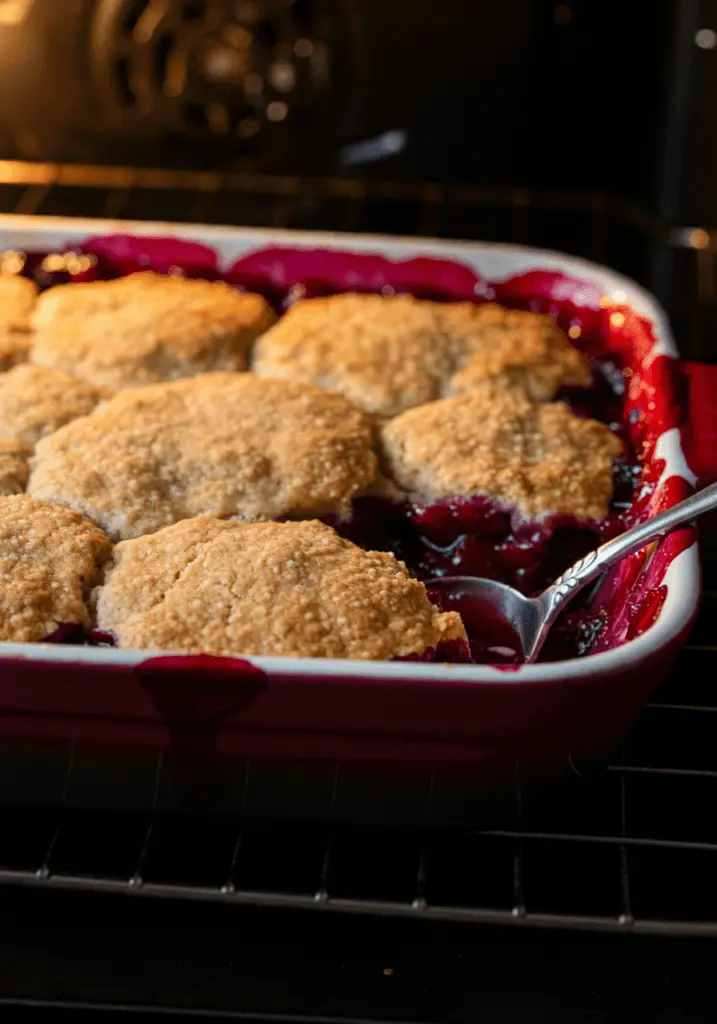
4-Baking Your Cherry Cobbler
It’s time to bring your cobbler to life. Follow these steps for golden perfection:
- Place the baking dish in the oven for 30–35 minutes.
- Check for doneness by inserting a toothpick into the center. It should come out clean.
- Allow the cobbler to cool for 10 minutes before serving.
Pro Tip: Sprinkle a little sugar on top before baking for a crispier crust.
Serving and Storing Cherry Cobbler
How to Serve
Serve your Cherry Cobbler warm with a dollop of whipped cream or a scoop of ice cream. It’s also delightful cold, straight from the fridge!
How to Store
- Refrigeration: Cover leftovers with plastic wrap or store in an airtight container for up to 3 days.
- Reheating: Warm in the oven at 350°F for 10 minutes to retain the crisp texture.
Tips:
- Fruit Variations: You can substitute cherries with other fruits like blueberries, peaches, or mixed berries for a different flavor.
- Make-Ahead: The cherry filling can be prepared in advance and refrigerated for up to 2 days. Simply assemble and bake when ready to serve.
- Storage: Leftovers can be stored in an airtight container in the fridge for up to 3 days. Reheat in the oven or microwave before serving.
Perfect Cherry Cobbler
Ingredients
- 4 cups fresh or frozen cherries pitted
- 3/4 cup granulated sugar
- 1 tablespoon cornstarch
- 1 teaspoon lemon juice
- 1 teaspoon vanilla extract
- 1 cup all-purpose flour
- 1/2 cup granulated sugar
- 1/4 teaspoon baking powder
- 1/4 teaspoon salt
- 1/4 cup unsalted butter cubed
- 1/2 cup milk
- 1/4 teaspoon cinnamon optional
Instructions
Preheat the Oven:
- Preheat your oven to 350°F (175°C).
Prepare the Cherry Filling:
- In a medium bowl, combine cherries, 3/4 cup sugar, cornstarch, lemon juice, and vanilla extract.
- Toss to coat the cherries evenly and set aside.
Make the Cobbler Topping:
- In a separate bowl, whisk together flour, 1/2 cup sugar, baking powder, salt, and cinnamon (if using).
- Add cubed butter and use a pastry cutter or fork to mix until the mixture resembles coarse crumbs.
- Pour in milk and stir until just combined. Be careful not to overmix.
Assemble the Cobbler:
- Pour the cherry mixture into a greased 9-inch baking dish.
- Drop spoonfuls of the cobbler batter on top of the cherries, covering as much of the surface as possible.
Bake:
- Bake in the preheated oven for 40-45 minutes, or until the topping is golden brown and the cherries are bubbling.
Serve:
- Let the cobbler cool for 10 minutes before serving. Serve warm with vanilla ice cream or whipped cream for extra indulgence.
Notes
Nutrition Information (Per Serving):
- Calories: 280 kcal
- Fat: 12g
- Saturated Fat: 7g
- Cholesterol: 35mg
- Sodium: 180mg
- Carbohydrates: 40g
- Fiber: 3g
- Sugar: 20g
- Protein: 3g
- Vitamin A: 10% DV
- Vitamin C: 12% DV
- Calcium: 6% DV
- Iron: 8% DV
Most Popular Questions :
1. Can I use other fruits in this recipe?
Absolutely! While this recipe is for a classic cherry cobbler, you can easily swap in other fruits based on your preferences or what’s in season. Berries such as blueberries, raspberries, or blackberries work wonderfully. You can also try stone fruits like peaches, plums, or even apples for a different twist. Just keep in mind that some fruits may release more liquid than others, so adjust the sugar and cornstarch as needed to achieve the perfect cobbler filling.
2. Can I make this cobbler gluten-free?
Yes, making your cherry cobbler gluten-free is possible with a few simple substitutions. Instead of regular flour, you can use a gluten-free all-purpose flour blend. Be sure to check that the flour you choose includes a binder (like xanthan gum) to give the cobbler’s texture some structure. If you’re also using store-bought baking powder, check the label to ensure it’s gluten-free. With these adjustments, you can enjoy a delicious gluten-free cherry cobbler!
3. What’s the best way to pit cherries?
Pitting cherries can be a bit tricky, but there are a few methods to make it easier. The most effective way is using a cherry pitter, a small tool designed specifically to remove the pit quickly and efficiently. If you don’t have a cherry pitter, you can also use a small knife to cut around the cherry and remove the pit carefully. Alternatively, you can insert a straw through the center of the cherry from the bottom to push the pit out, but this may take a bit longer.
4. Do I need to thaw frozen cherries?
If you’re using frozen cherries for your cobbler, there’s no need to thaw them beforehand. In fact, using frozen cherries straight from the freezer helps the filling maintain a nice, thick consistency while baking. However, if you’re worried about excess liquid, you can drain the cherries and toss them in a bit of cornstarch or flour to help absorb the moisture during baking.
5. How do I make the cobbler crust crispier?
To get a crispier crust on your cherry cobbler, make sure you’re using a higher temperature to bake it, which will help the top brown and crisp up. You can also try brushing the top of the crust with a little melted butter or cream before baking, which will give it a golden, crunchy finish. Another tip is to sprinkle a bit of sugar on top before baking; the sugar will create a lovely crunch as the cobbler bakes.
Now it´s Time to Make Your Cherry Cobbler!
Now that you have all the tools and tips, it’s time to make your own Cherry Cobbler. This dessert is perfect for sharing, but don’t be surprised if you want to keep it all to yourself!
Have questions or want to share your results? Comment below—I’d love to hear how your cobbler turned out.
Get baking and treat yourself to this classic dessert today!